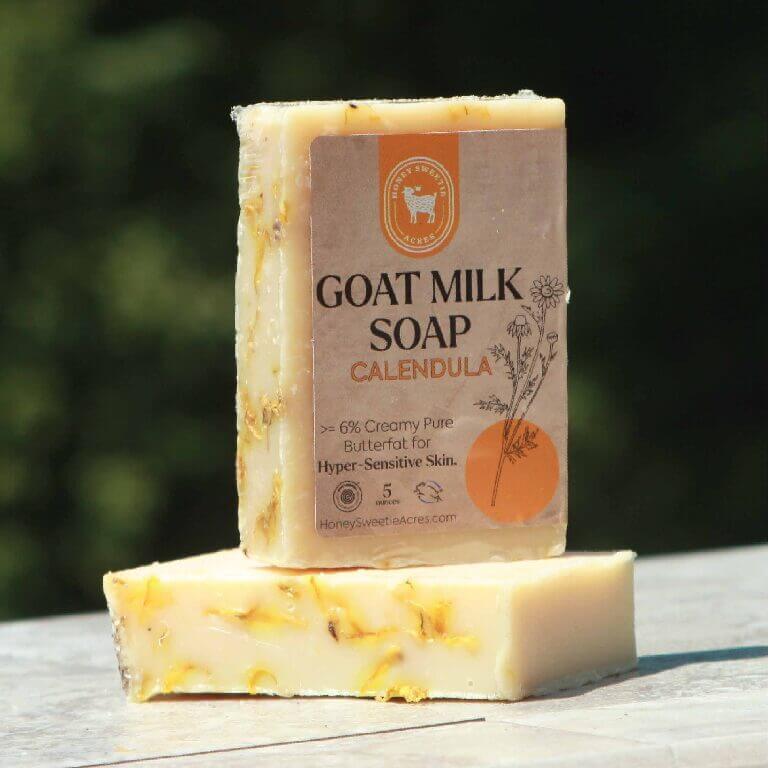
Making soap at home can be a fun and rewarding experience, especially when using nourishing ingredients like goat milk. Goat milk soap is known for its creamy lather and moisturizing properties, making it a favorite among natural skincare enthusiasts. Here’s a simple and foolproof recipe for beginners to create their own goat milk soap at home.
Ingredients:
- 20 oz. Olive Oil: Moisturizes and conditions the skin.
- 10 oz. Coconut Oil: Adds hardness and lather to the soap.
- 10 oz. Palm Oil: Stabilizes the lather and adds firmness.
- 9 oz. Goat Milk: Provides rich, creamy lather and nourishment.
- 4.4 oz. Lye (Sodium Hydroxide): Essential for the saponification process.
- 4.4 oz. Distilled Water: Used to dissolve the lye.
- 1 oz. Essential Oils (optional): For fragrance and additional skin benefits. Lavender, peppermint, or tea tree oil are popular choices.
Equipment:
- Digital scale
- Thermometer
- Stick blender
- Soap mold
- Safety goggles and gloves
- Stainless steel or heat-resistant plastic mixing bowls
- Silicone spatula
Instructions:
- Prepare Your Workspace: Ensure you have a clean, well-ventilated area to work in. Put on your safety goggles and gloves to protect yourself from the lye solution.
- Freeze the Goat Milk: Pour the goat milk into ice cube trays and freeze until solid. This helps prevent the milk from scorching when you mix it with the lye.
- Mix the Lye and Goat Milk: Place the frozen goat milk cubes in a heat-resistant bowl. Slowly add the lye to the milk, stirring continuously. The mixture will heat up and melt the milk cubes. Continue stirring until the lye is completely dissolved. Set aside to cool.
- Melt the Oils: In a large pot, melt the coconut oil and palm oil over low heat. Once melted, add the olive oil and stir to combine. Remove from heat and let it cool to about 100°F (38°C).
- Combine Lye Solution and Oils: Slowly pour the lye and goat milk mixture into the oils, stirring continuously. Use a stick blender to mix until the soap reaches “trace.” Trace is the point where the mixture thickens and leaves a visible trail when drizzled over the surface.
- Add Essential Oils: If using, add your chosen essential oils and blend well.
- Pour into Mold: Pour the soap mixture into your prepared mold, smoothing the top with a spatula.
- Insulate and Cure: Cover the mold with a lid or plastic wrap, and insulate with a towel. Allow the soap to sit for 24-48 hours until it hardens. Once hardened, remove the soap from the mold and cut into bars.
- Curing Process: Place the soap bars on a rack or a sheet of parchment paper in a cool, dry place. Allow them to cure for 4-6 weeks, turning occasionally to ensure even curing.
- Enjoy Your Soap: Once fully cured, your goat milk soap is ready to use! Enjoy the creamy lather and moisturizing benefits.
Tips for Success:
- Safety First: Always handle lye with care and work in a well-ventilated area.
- Temperature Control: Keep a close eye on the temperatures of your lye solution and oils. If they are too hot or too cold, the soap may not come together properly.
- Patience: The curing process is essential for mild and long-lasting soap, so don’t rush it.
This easy, no-fail goat milk soap recipe is perfect for beginners looking to explore the world of soap making. With its rich, creamy lather and nourishing properties, it’s a wonderful addition to any skincare routine. Happy soap making!
TURN TO THE NEXT PAGE TO READ & Discover
36
