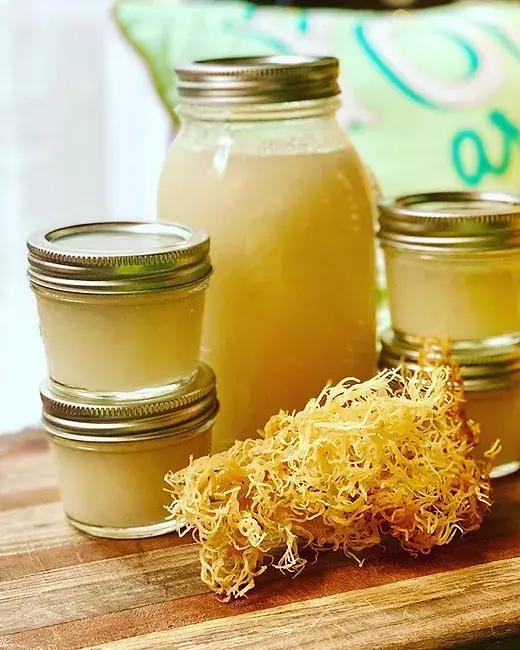
Sea moss gel is a nutrient-packed superfood that’s easy to make at home. Follow these three simple steps to create your own sea moss gel and enjoy its numerous health benefits!
Ingredients:
- 1 cup dried sea moss
- 2-3 cups spring water (for soaking)
- 1-2 cups spring water (for blending)
Step 1: Clean and Soak the Sea Moss
- Rinse Thoroughly: Start by thoroughly rinsing 1 cup of dried sea moss under cool, running water. Remove any debris, sand, or impurities.
- Soak: Place the cleaned sea moss in a large bowl and cover it with 2-3 cups of spring water. Let it soak for at least 12-24 hours. The sea moss will expand and become soft and gelatinous.
Step 2: Blend the Sea Moss
- Drain: After soaking, drain and rinse the sea moss again to remove any remaining impurities.
- Blend: Transfer the soaked sea moss to a blender. Add 1-2 cups of fresh spring water, depending on the desired consistency. Blend until smooth and creamy. You may need to scrape down the sides of the blender to ensure all the sea moss is fully blended.
Step 3: Store and Use
- Transfer: Pour the blended sea moss gel into a clean, airtight container.
- Refrigerate: Store the gel in the refrigerator for up to 2-3 weeks. The gel will thicken as it cools.
How to Use Sea Moss Gel
- Smoothies: Add a tablespoon to your favorite smoothie for a nutrient boost.
- Recipes: Incorporate it into soups, sauces, and desserts.
- Skin Care: Use it as a natural face mask or skin moisturizer.
Sea moss gel is rich in vitamins, minerals, and antioxidants. Making it at home ensures you get a fresh, natural product without any additives. Enjoy your homemade sea moss gel and its wonderful health benefits!